How to install android-x86 9.0 on Oracle VM Virtualbox
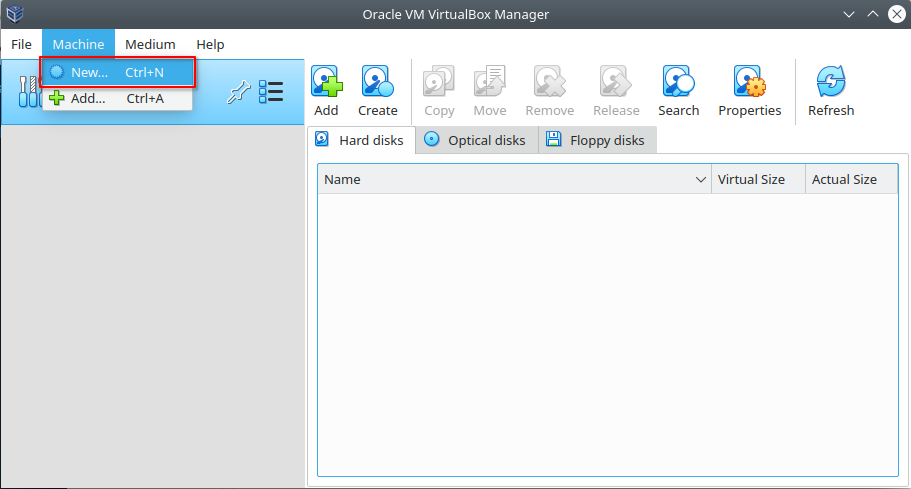
1- Open Oracle VM VirtualBox.
2- Choose New from Machine menu.
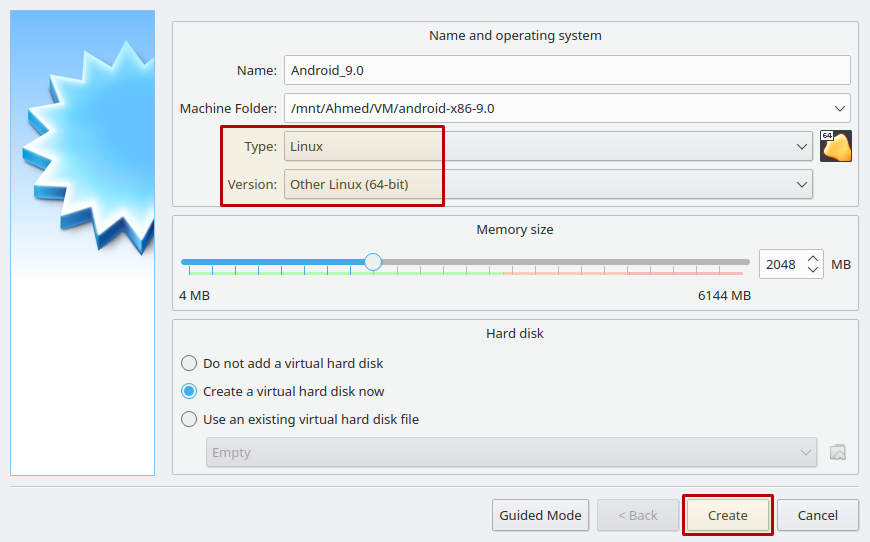
3- Give your VM a name, and choose a location for it.
Type =Linux, and version Other Linux (64-bit)
Increase memory size to 2048 MB (2 GB), and press Create
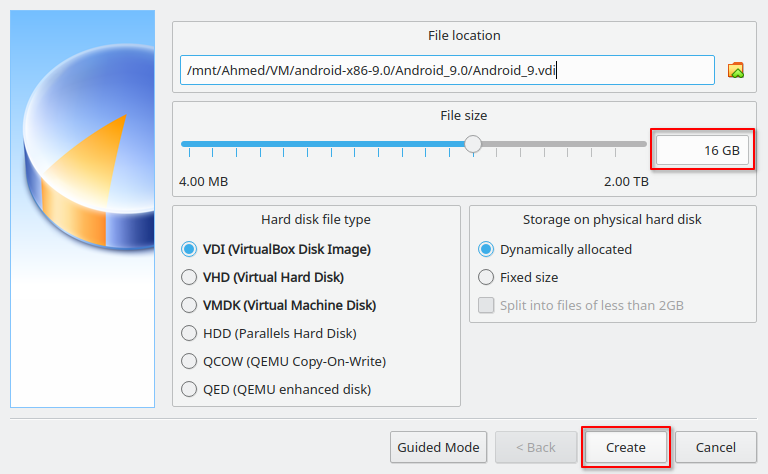
4- Increase file size to 16 gb if you want, and press Create
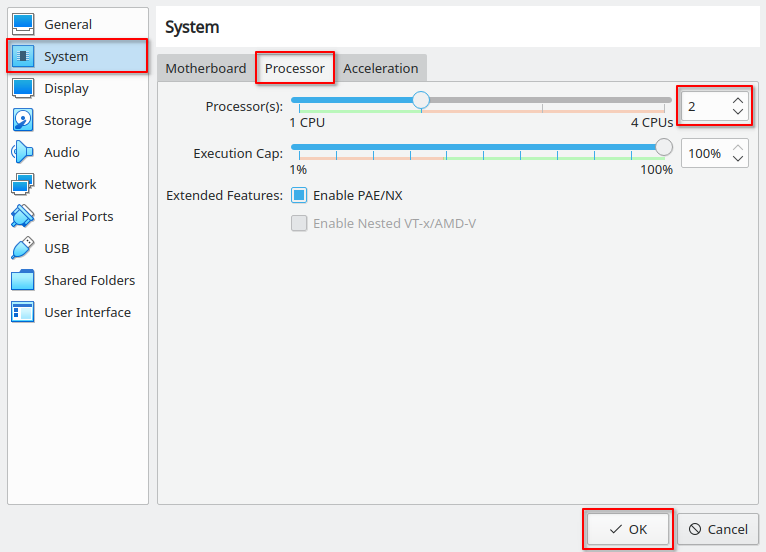
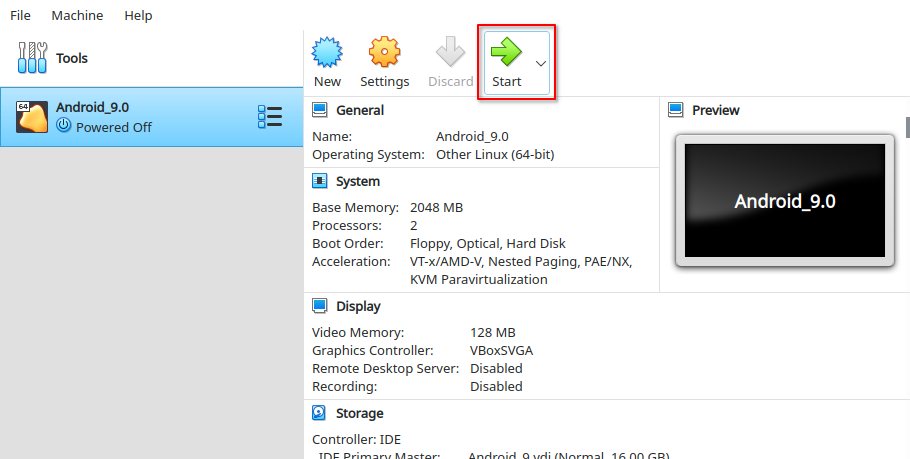
5 - Go to Settings

6- From System go to Processor, and assign 2 CPUs
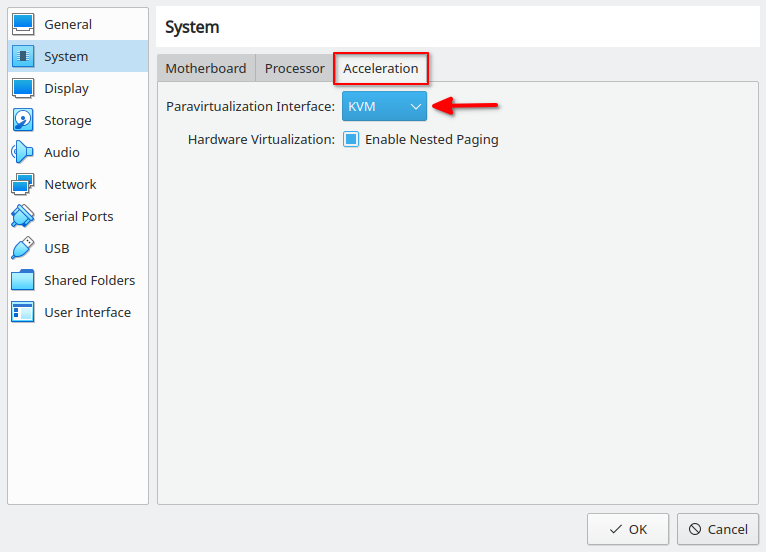
7- Go to Acceleration, and change Paravirtualization Interface to KVM.
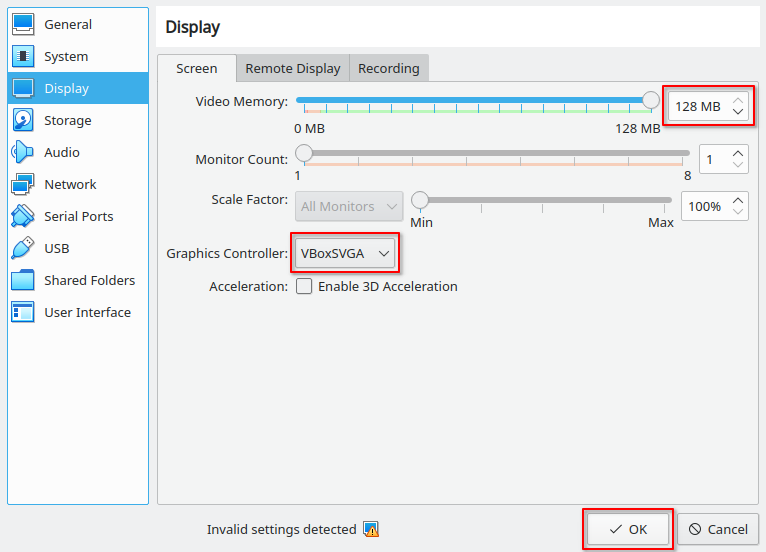
8- Go to Display, and change Video Memory to 128, and change Graphics Controller to VBoxSVGA, then press OK to save all changes.
9- Press Start
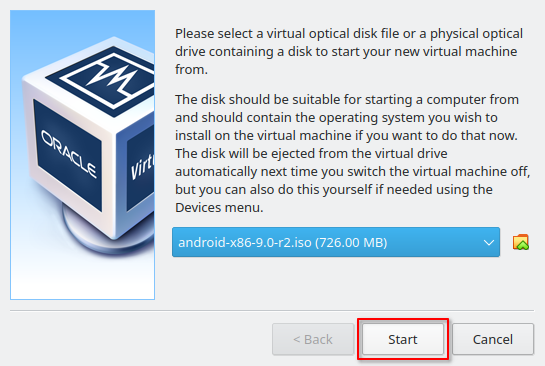
10- It will ask if you want to use Virtual CD/DVD (ISO), or your physical optical drive
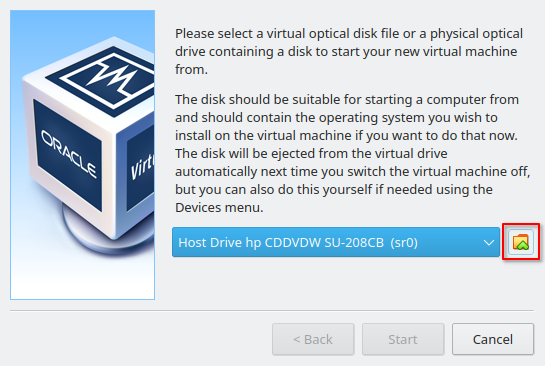
11- Press on the folder icon, and another window will pop
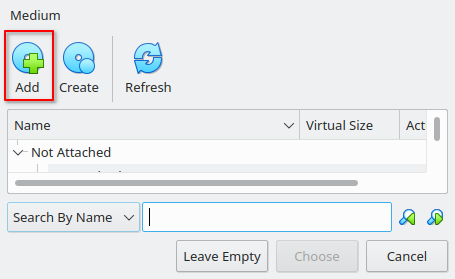
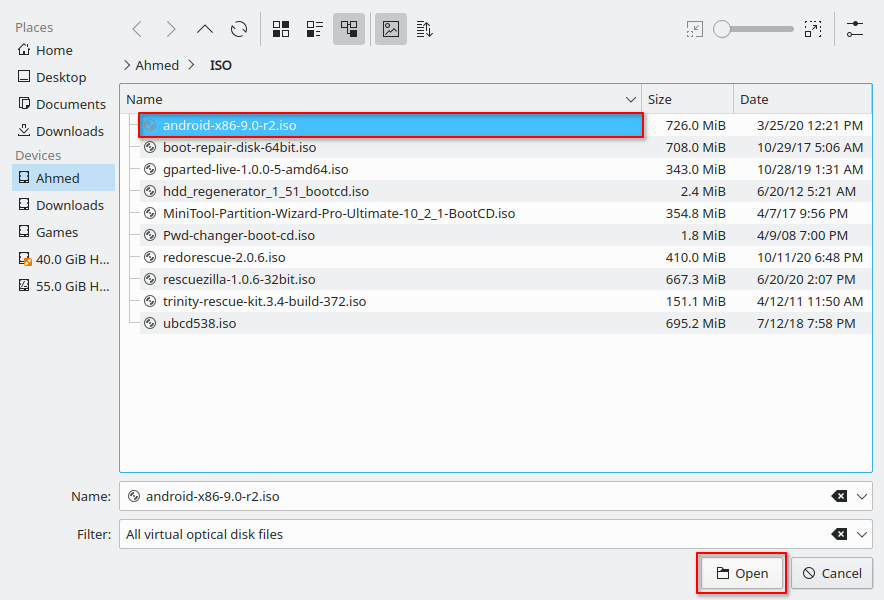
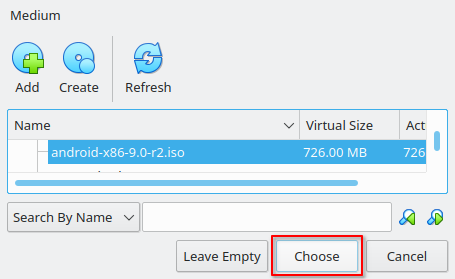
12- Press Add, and locate the ISO file you want to use, and press Choose
13- Now press Start
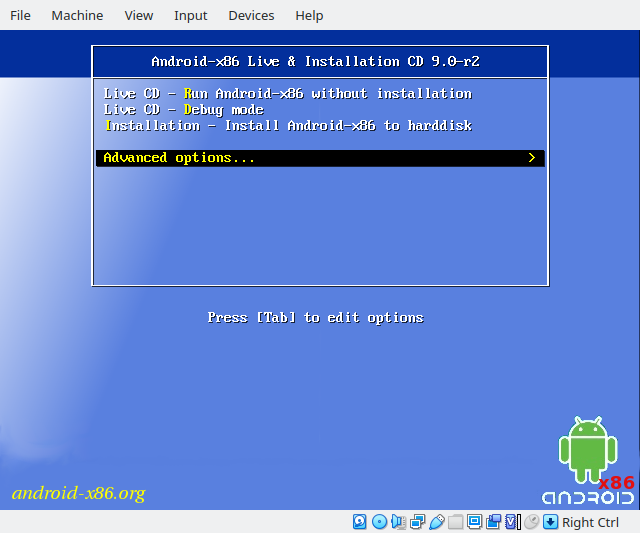
14- Scroll down, and choose Advanced options…
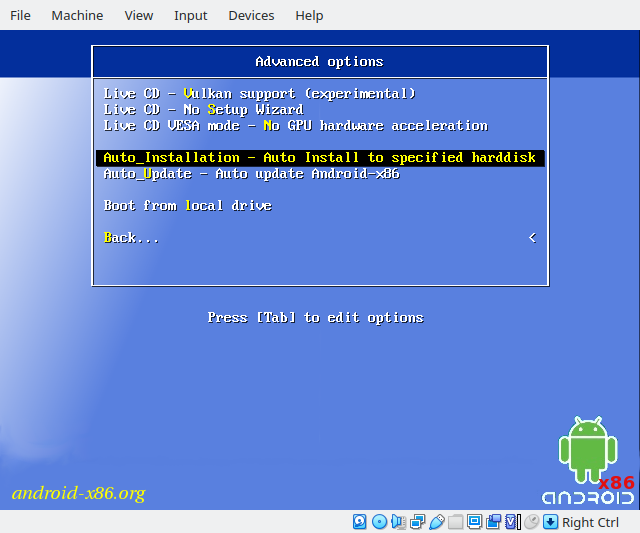
15- Choose Auto Installation (that will save a lot of time)
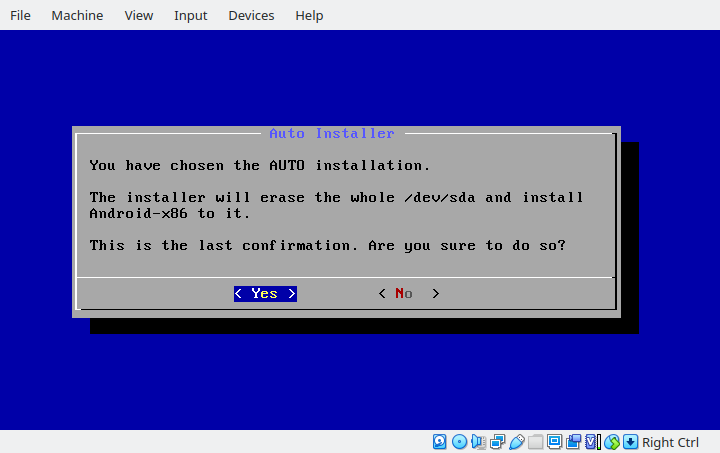
16- Confirm it by choosing Yes.
17- Wait until you get this message
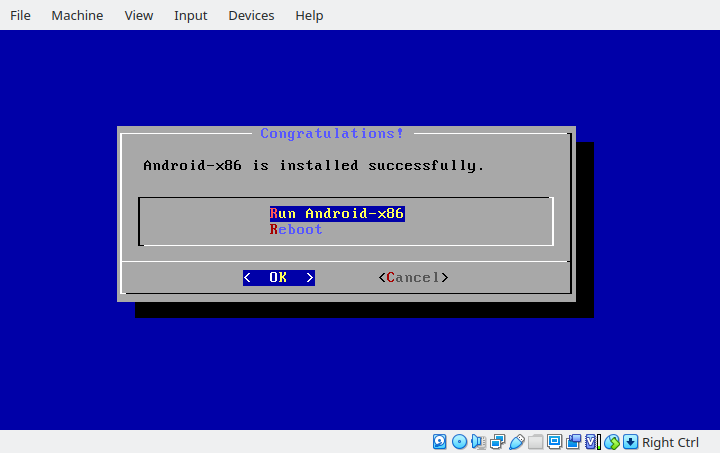
18- Close this window, and choose Power off the machine

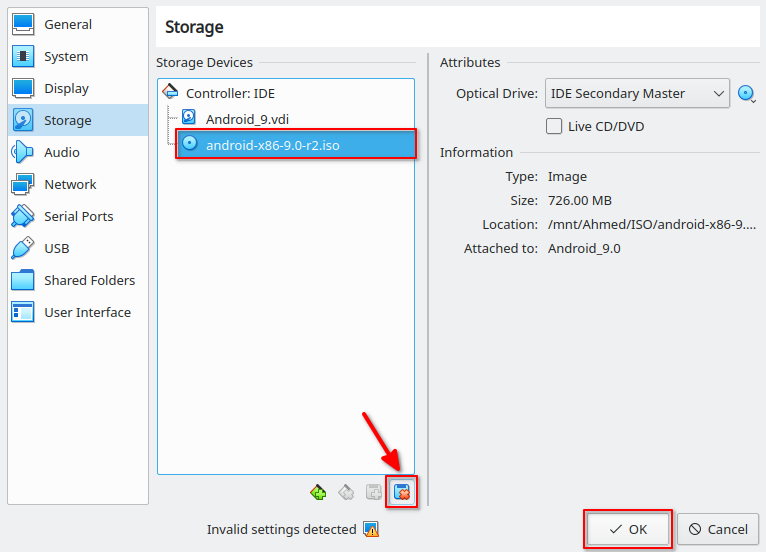
19- Go to Settings » Storage, and select android-x86-9.0-r2.iso, and press remove selected, then press OK
20- Press Start
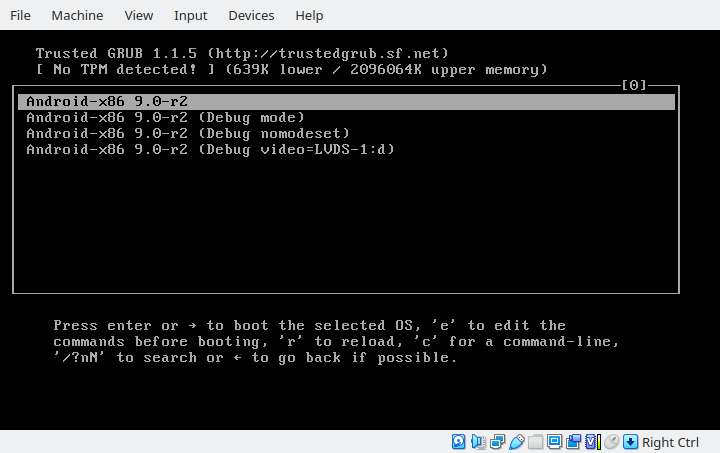
21- Choose Android-x86 9.0-r2
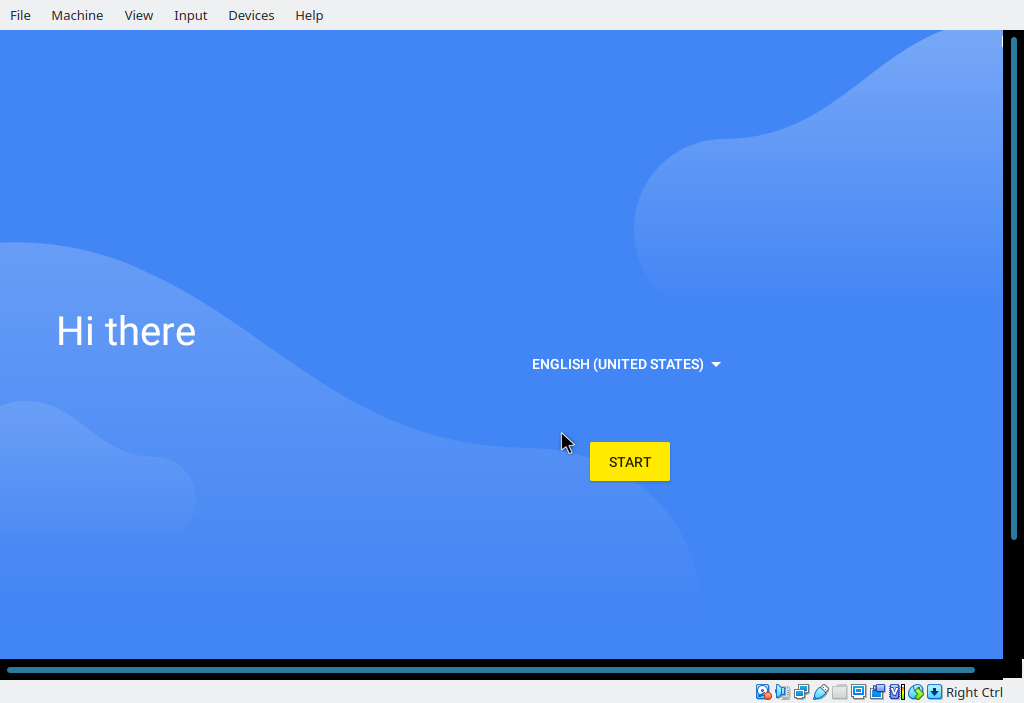
22- Choose your language, and press START
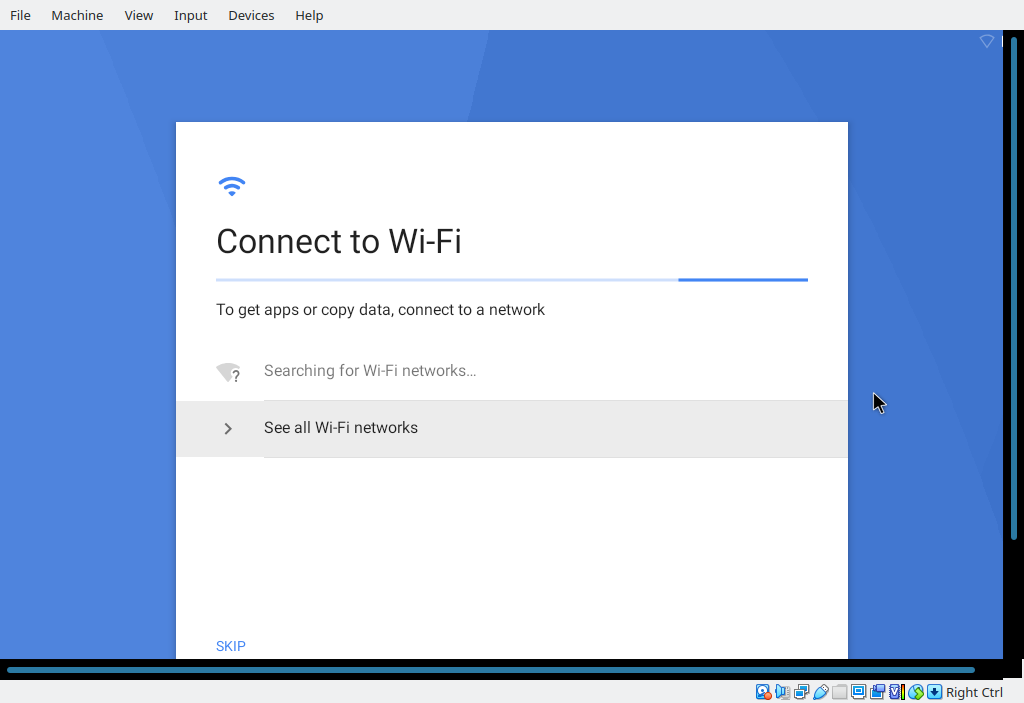
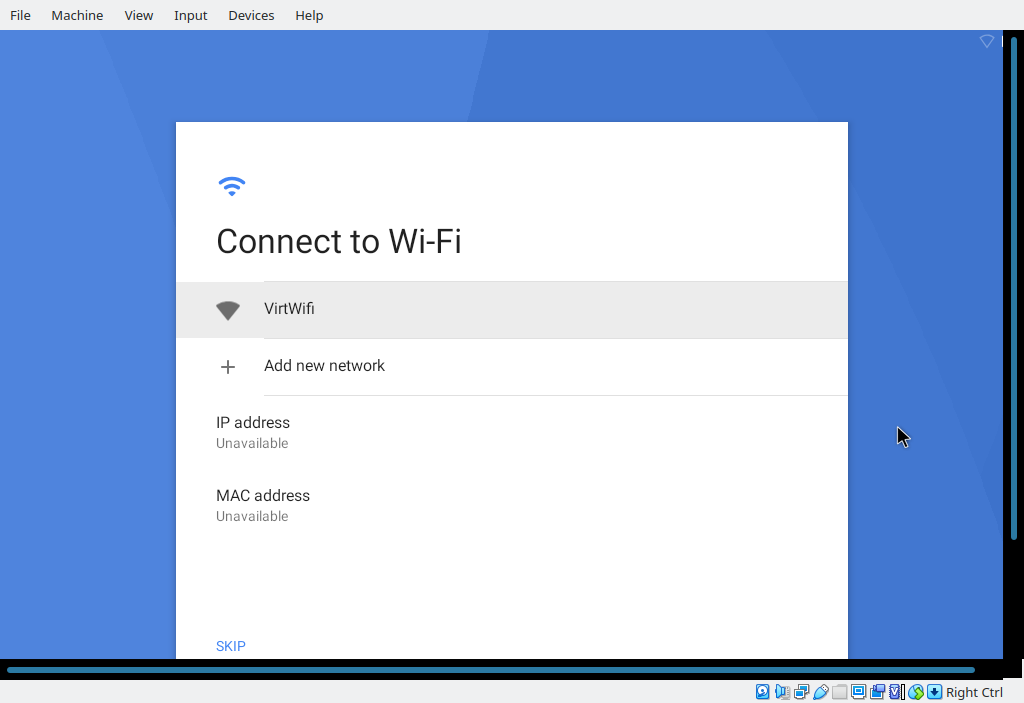
23- Click See all Wi-Fi networks, and connect to VirtWifi
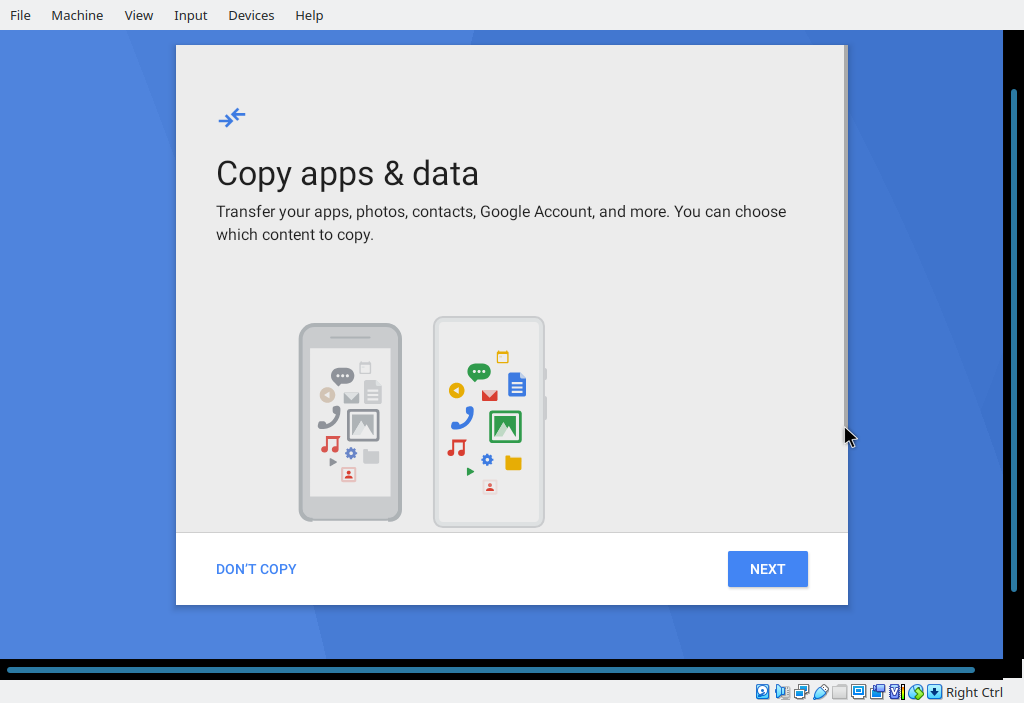
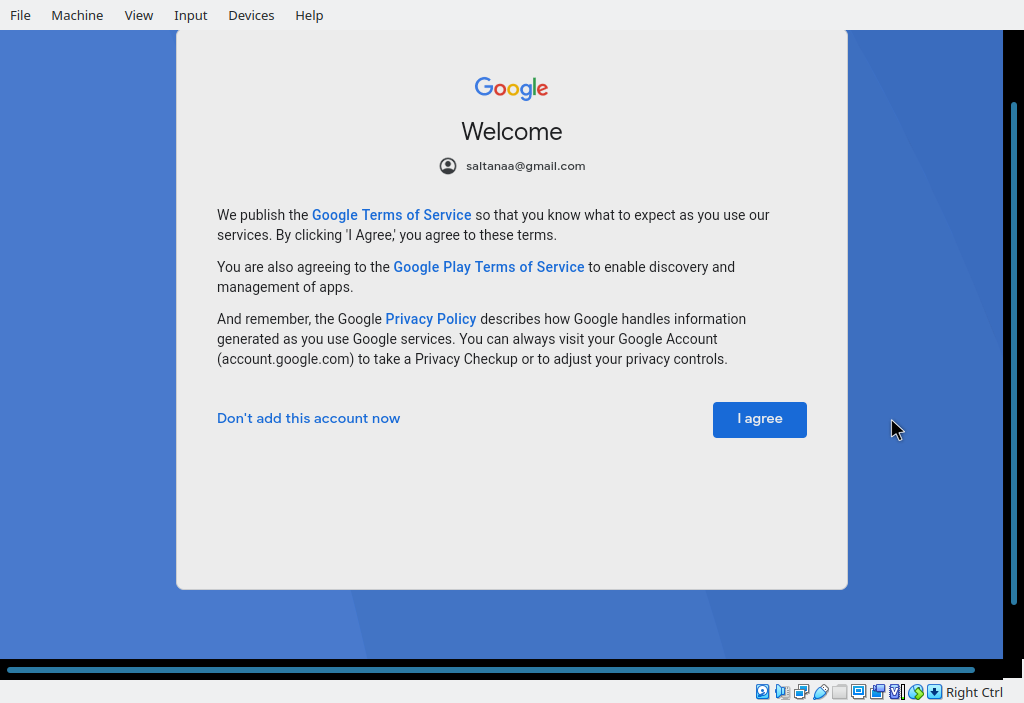
24- If you want to connect your Google account, and restore your application, and data click NEXT
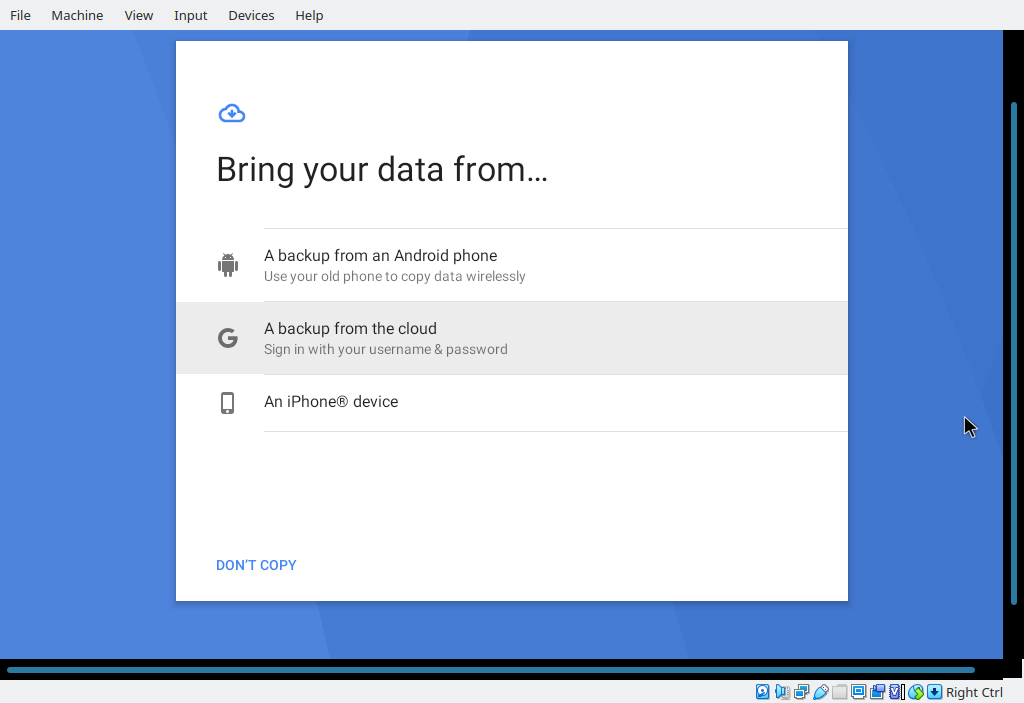
25- Choose A backup from the cloud
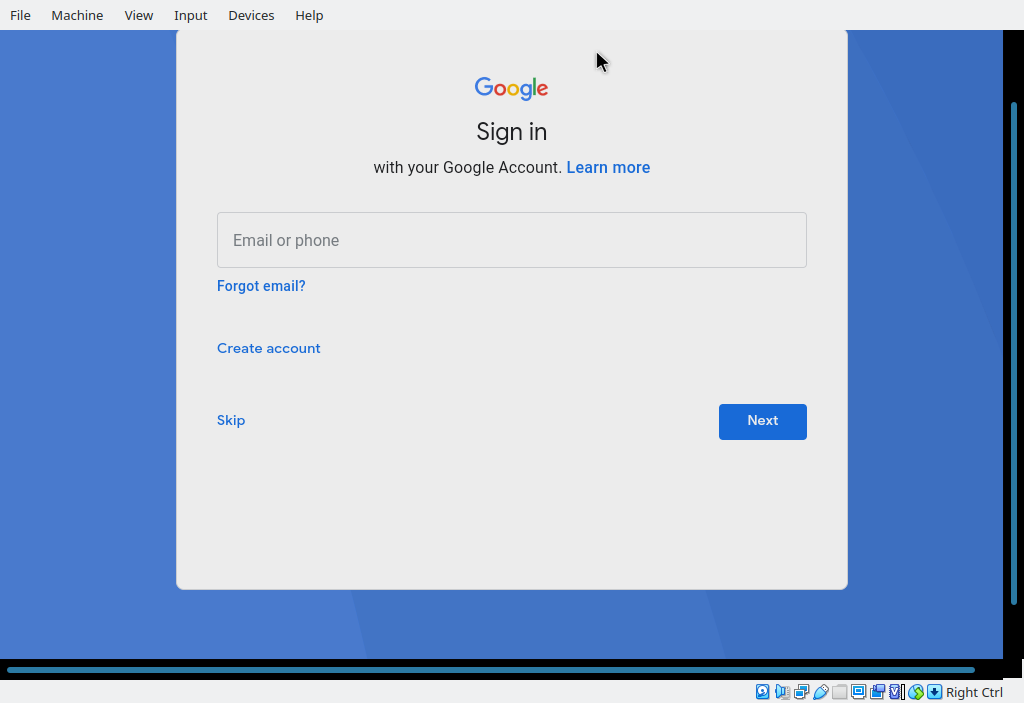
26- Enter your E-mail, then enter your password

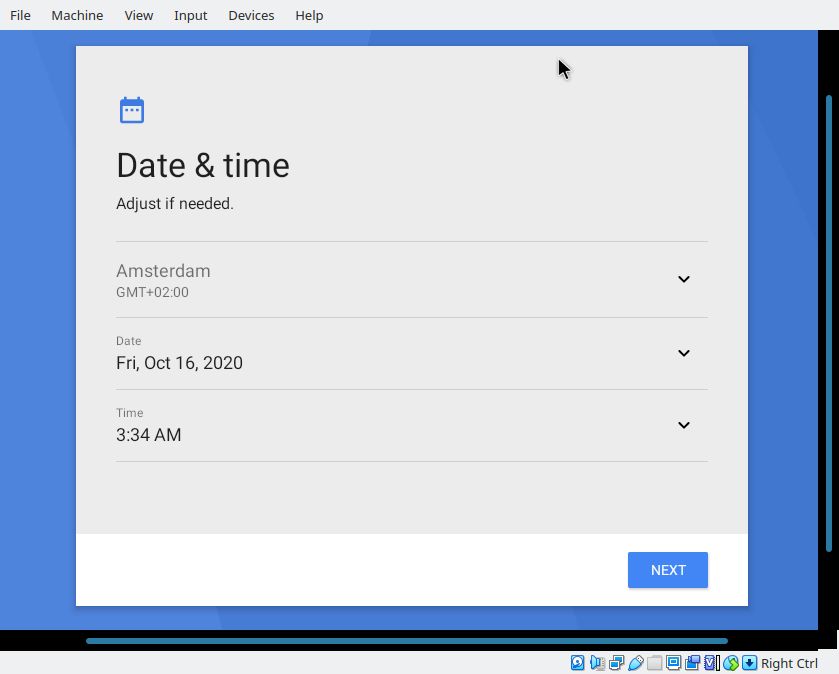
27- Adjust Date & time, and press NEXT
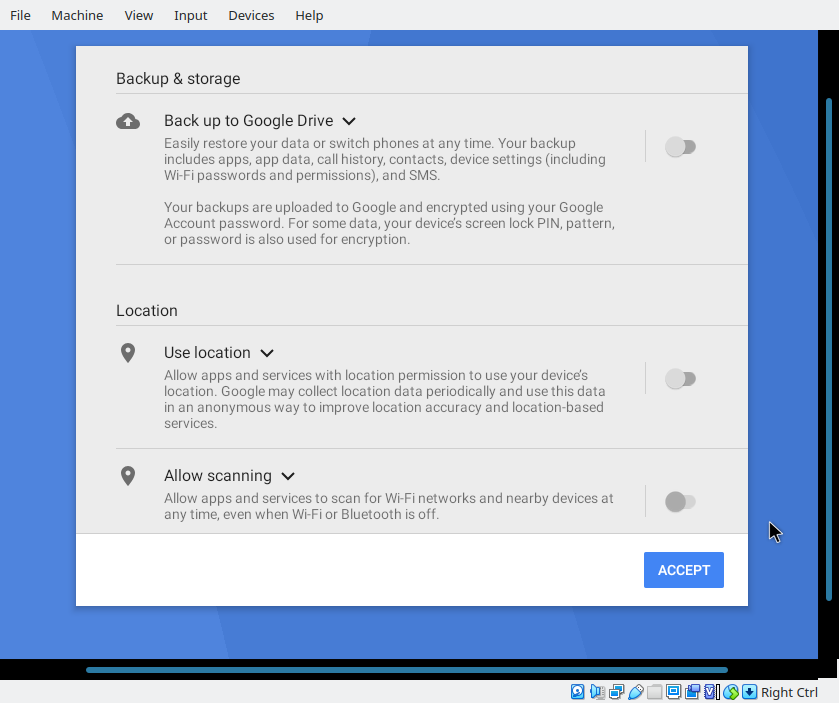
28- Turn off all Google Services (no need for them to be used on a VM)
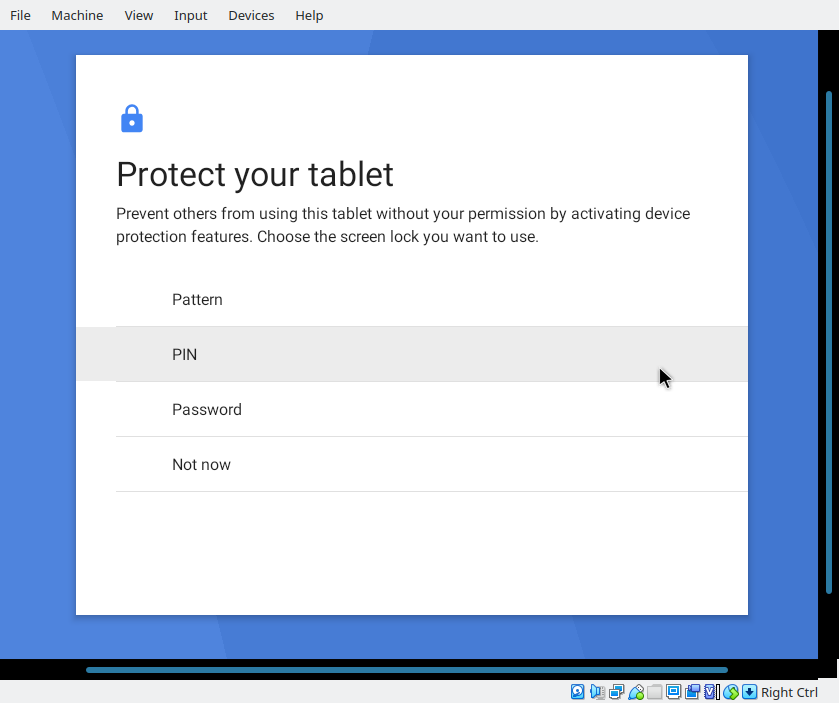
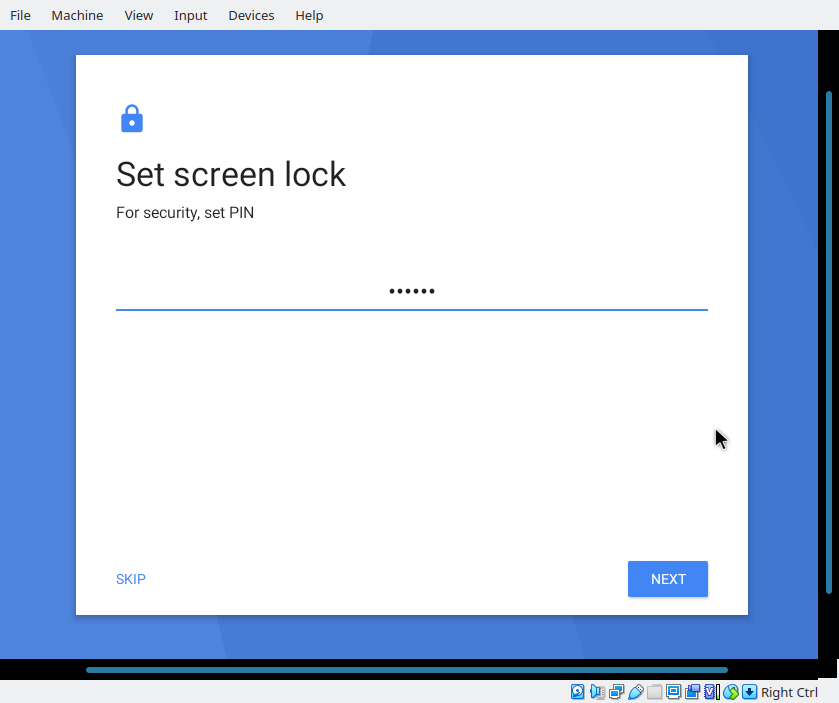
29- Choose Pattern, PIN, or Password to unlock your screen
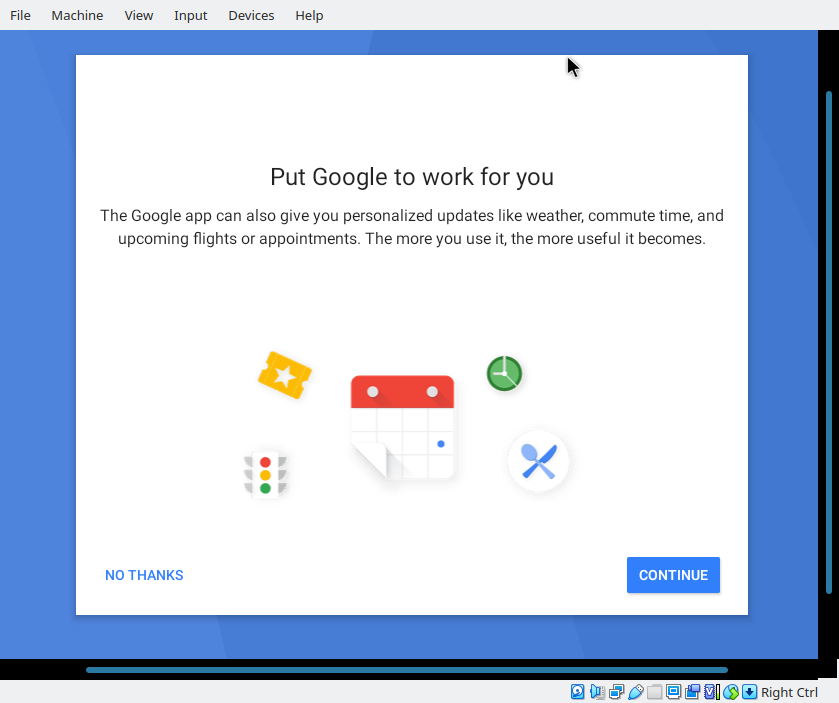
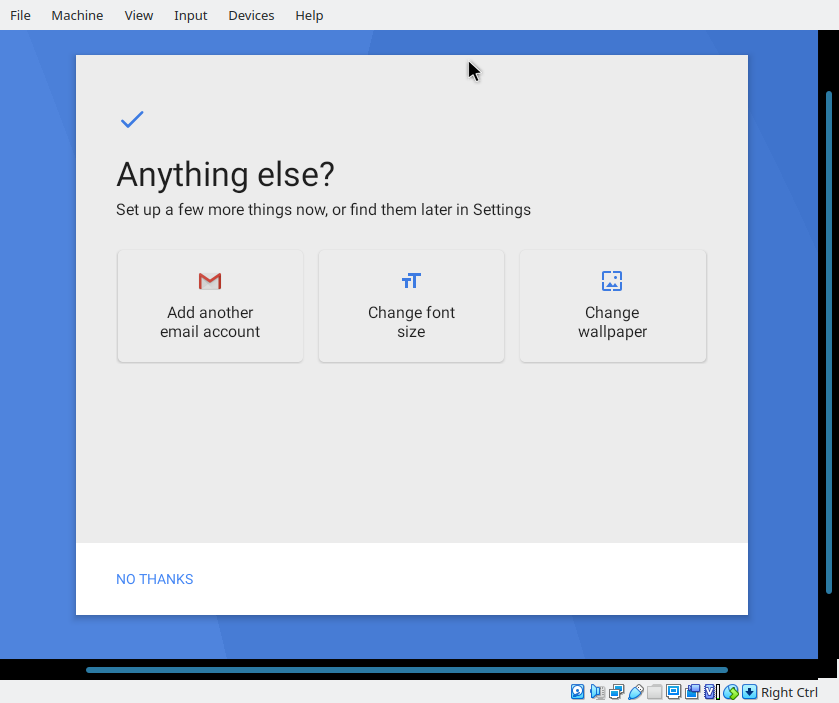
30- Press No THANKS
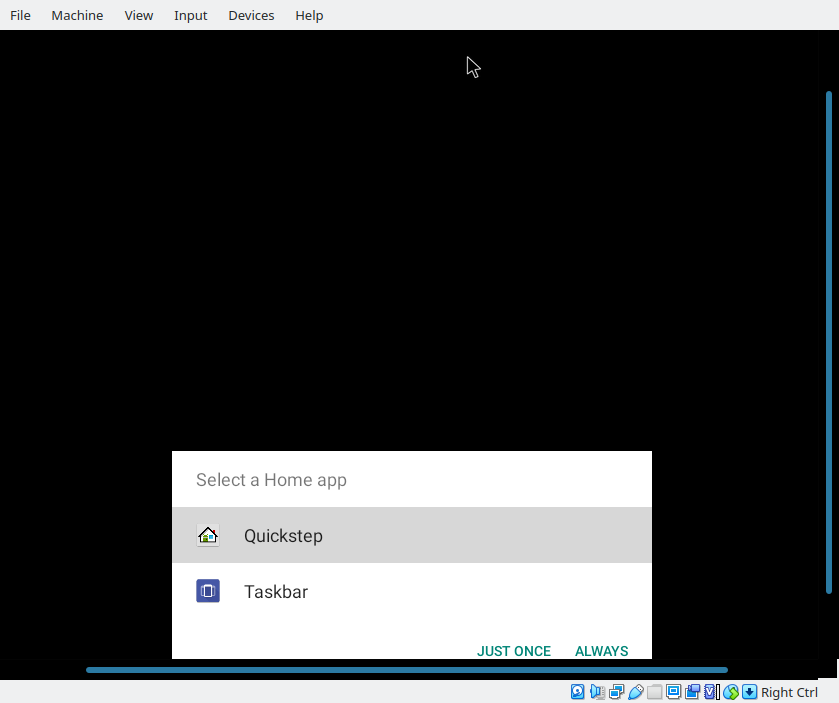
31- Select Quickstep, and choose Always
32- Now, you can use Play Store to install any application you want. Enjoy!
If you have any questions, write it down below, or you can contact me directly by my E-mail account.
If you want to get notified when we post a new content by adding our RSS feed to your feed list, or by joining our Telegram channel.